Embalmer life
The Embalming Procedure
When you search Embalming the definition you get is
“Embalming is the art and science of preserving human remains by treating them (in it`’s modern form with chemicals) to forestall decomposition.”
Have you thought about what the embalming process actual looks like? If you have, I’m going to explain it using as much visual aid as possible.
After we receive permission to embalm from the family of the deceased, we begin as soon as possible. First we put the body on an embalming table. Looking at the picture of the embalming table below, the head would lay on the left with the feet on the right.
There’s a rubber hose that stretches across the table to reach the head.
To understand the procedure, We will identify the essential embalming equipment and instruments.
Water
Source
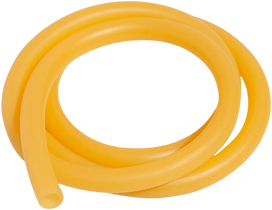
Once the body is on the table, we ensure everything is taken off. Unfortunately, yes, the body must be naked. But this is crucial to ensure the chemicals are distributed throughout the body. We determine distribution by observing the color of the skin once the mixture is being inserted.
The small black hose is pointed directly into a sink.
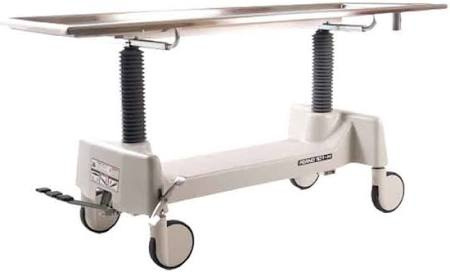
We use the peddles to make the table move into a downward angle to drain into the sink. Like the dotted line.
The Embalming Table
The embalming machine sits right next to the sink.
The Embalming Machine
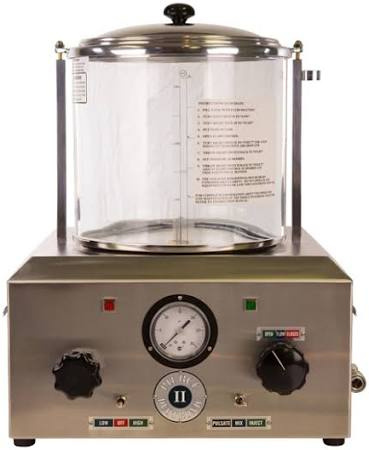
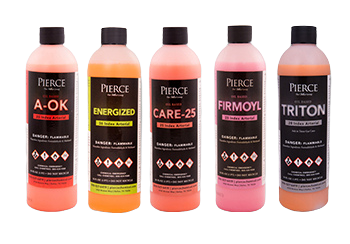
The tank at the top holds the mixture that is injected into the body. The mixture includes embalming fluid, (see PIC-01) mixed with water.
Embalming fluid contains Formaldehyde and Methanol, which can be harmful to the living if inhaled, ingested, or comes in contact with the skin. It’s very important to ensure all Protective Equipment is worn, including mask, gown, and gloves.
The small hole on the side of the machine connects to a hose very similar to the water hose above as it also stretches across the table.

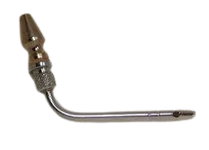
The other side of the hose connects to an instrument called an Arterial Cannula.
The mixture travels from the machine through the hose, then through the cannula into the artery. The purpose of the cannula is to be placed inside the artery.
PIC-01
How and where do you insert the canula?
With a Scapel, right above the clavicle bone on the right side of the body, we cut making an insision about 3 to 4 in. long.
To embalm, we need a point of injection and a point of drainage.
Although there are different methods, This one is the most common and least invasive as it provides distribution to the whole body with one point of injection.
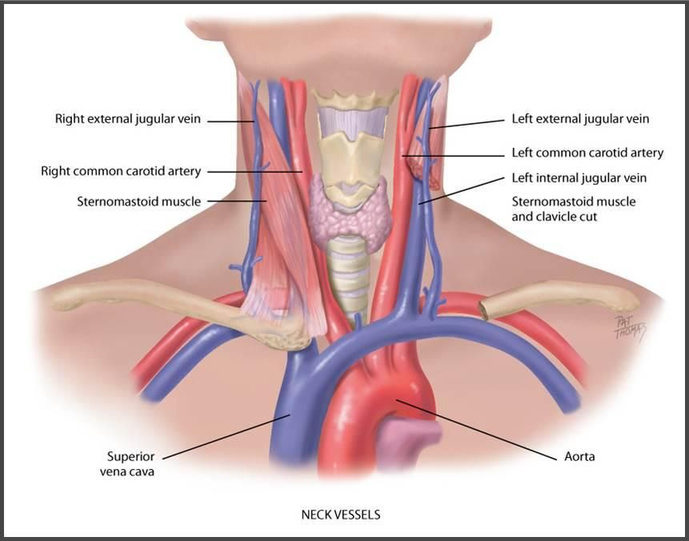
This method uses the Right Carotid Artery as the point of injection, while utilizing the Right External Jugular Vien as the point of drainage. (See PIC-02)
The veins are responsible for pushing the blood back to the heart.
The arteries, part of the cardiovascular system, are responsible for distributing blood from the heart into the rest of the body.
PIC-02
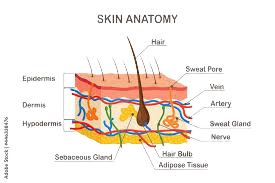
When making the incision we have to be careful not to cut to deep. This prevents accidentally cutting the artery. We use the scalpel to simply open the the top layer of the skin. As you can see in PIC-03, the artery is not far from the top.

Once it’s open, we use two (2) aneurysm hooks to search for the artery.


PIC-03
Aneurism hooks are strong, and most importantly dull, instruments to help tear through muscle tissue.
Referencing back to PIC-02, you can see the layer of Sternomastoid muscle that lays on top of the artery and vein we are trying to access. The aneurysm hooks will allow you to tear the muscle apart until the artery and vein are visible.
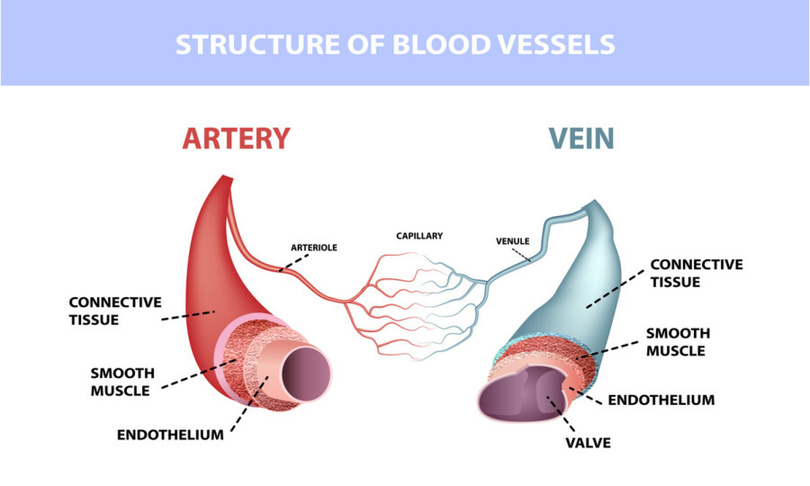
Once the artery is visible, we use the aneurysm hook to hook under it to pull it up. The artery looks like a thick reddish rubber band.(See PIC-04). The vein is dark in color, almost purple. Once the artery is lifted, we use the other aneurysm hook to clean the artery. As you can see in PIC-04, the artery is covered with a layer of connective tissue followed by a layer of smooth muscle. To avoid placing the cannula in between layers, we scrap the connective tissue and muscle off of the artery. After the layers are scrapped off, it exposes the Endothelium, which looks more like a light pink rubber band.
PIC-04
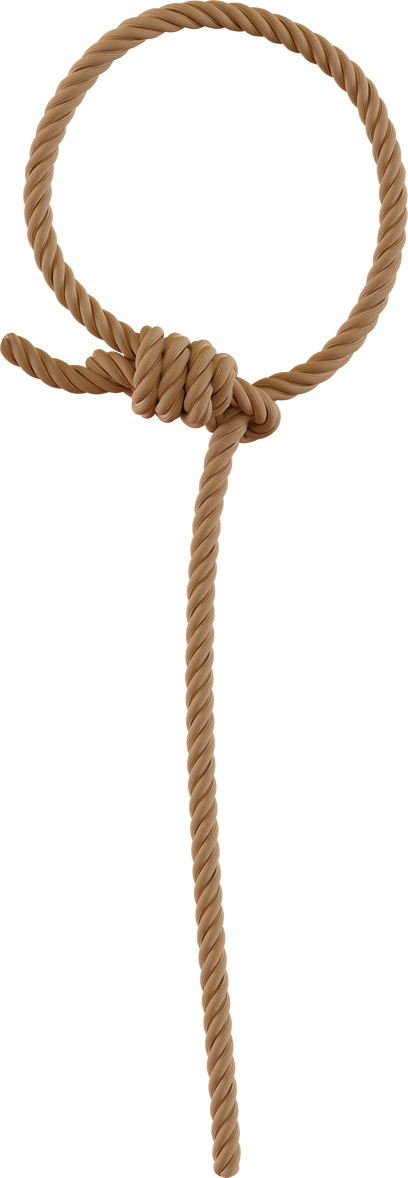
Now that the artery is clean, we use what is called, Ligature, to tie around the artery at the top and towards the bottom.(See PIC-05). We then place an instrument called Locking Forceps, at the end of the ligature to weigh it down so we don’t lose the artery. We set the artery aside.
We then continue using the aneurysm hooks to do the same process to the Right Exernal Jugular vein, except this time we tie only one piece of ligature towards the top of the vein.
Since we have the vein in our hands at this point, we continue by opening up the vein before the artery.
There is very minimal blood at this point. Even with the initial incision, there is no blood. Remember, this is a dead body, the heart is not pumping blood, so the blood is sitting inside the veins. Once the vein is cut open, the blood will begin draining out, and you will loose visibility fast. We must be steady but fast opening the vein.
PIC-05 (image zoomed in for illustration purpose)
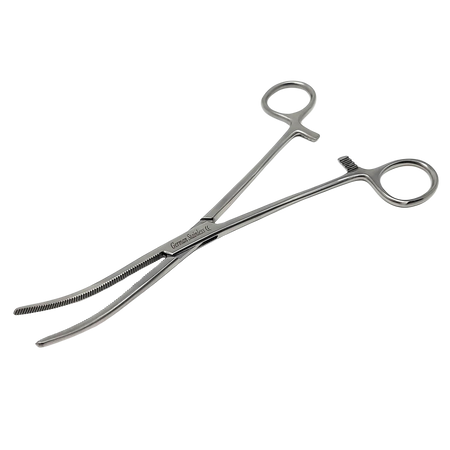


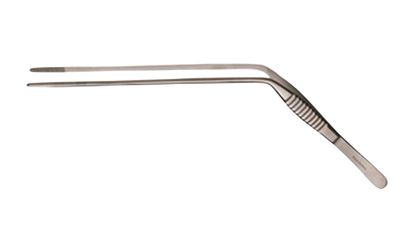

To open the vein, we use surgical scissors to snip the vein. We do not want to disconnect the vein. We just want to snip it enough to fit the instrument called Angular Vein Forceps.
The vein is way more flexible than the artery. Referencing back to PIC-04, you can see how the Endothelium of the vein is more relaxed than the artery. The artery is thick like a rubber band, while the vein is more like a balloon. It’s strong, stretchy but very thin.
The angular forceps open and close like a pair of tongs. We snip the vein, then insert the closed angular forceps into the snip and downward into the vein. The angular forceps should go all the way in, up until the curve of the forceps. Once the angular forceps are in, we let them open wide, like opening tongs.
As soon as we snip the vein, blood begins flowing out but once the forceps are opened inside the vein, the blood will begin flowing a little bit faster.


Now we grab the ligatures that are weighed down by the locking forceps to bring up the artery. In between the pieces of ligature we snip the artery, then insert the cannula.
‘Remember, the cannula is connected to the hose that is connected to the embalming machine.
Once the cannula is inserted into the artery, we tie the bottom piece of ligature tight to keep the cannula from coming out.
Now we turn the embalming machine on to start injecting the mixture.
The pressure of the injecting fluid will distribute the mixture throughout the body, while pushing the blood out of the artery into the veins, pushing back towards the heart. However, since the right jugular vein is open, the blood will drain out of the vein.
We put the running water hose at the top of the table to rinse the drainage down the table into the sink.